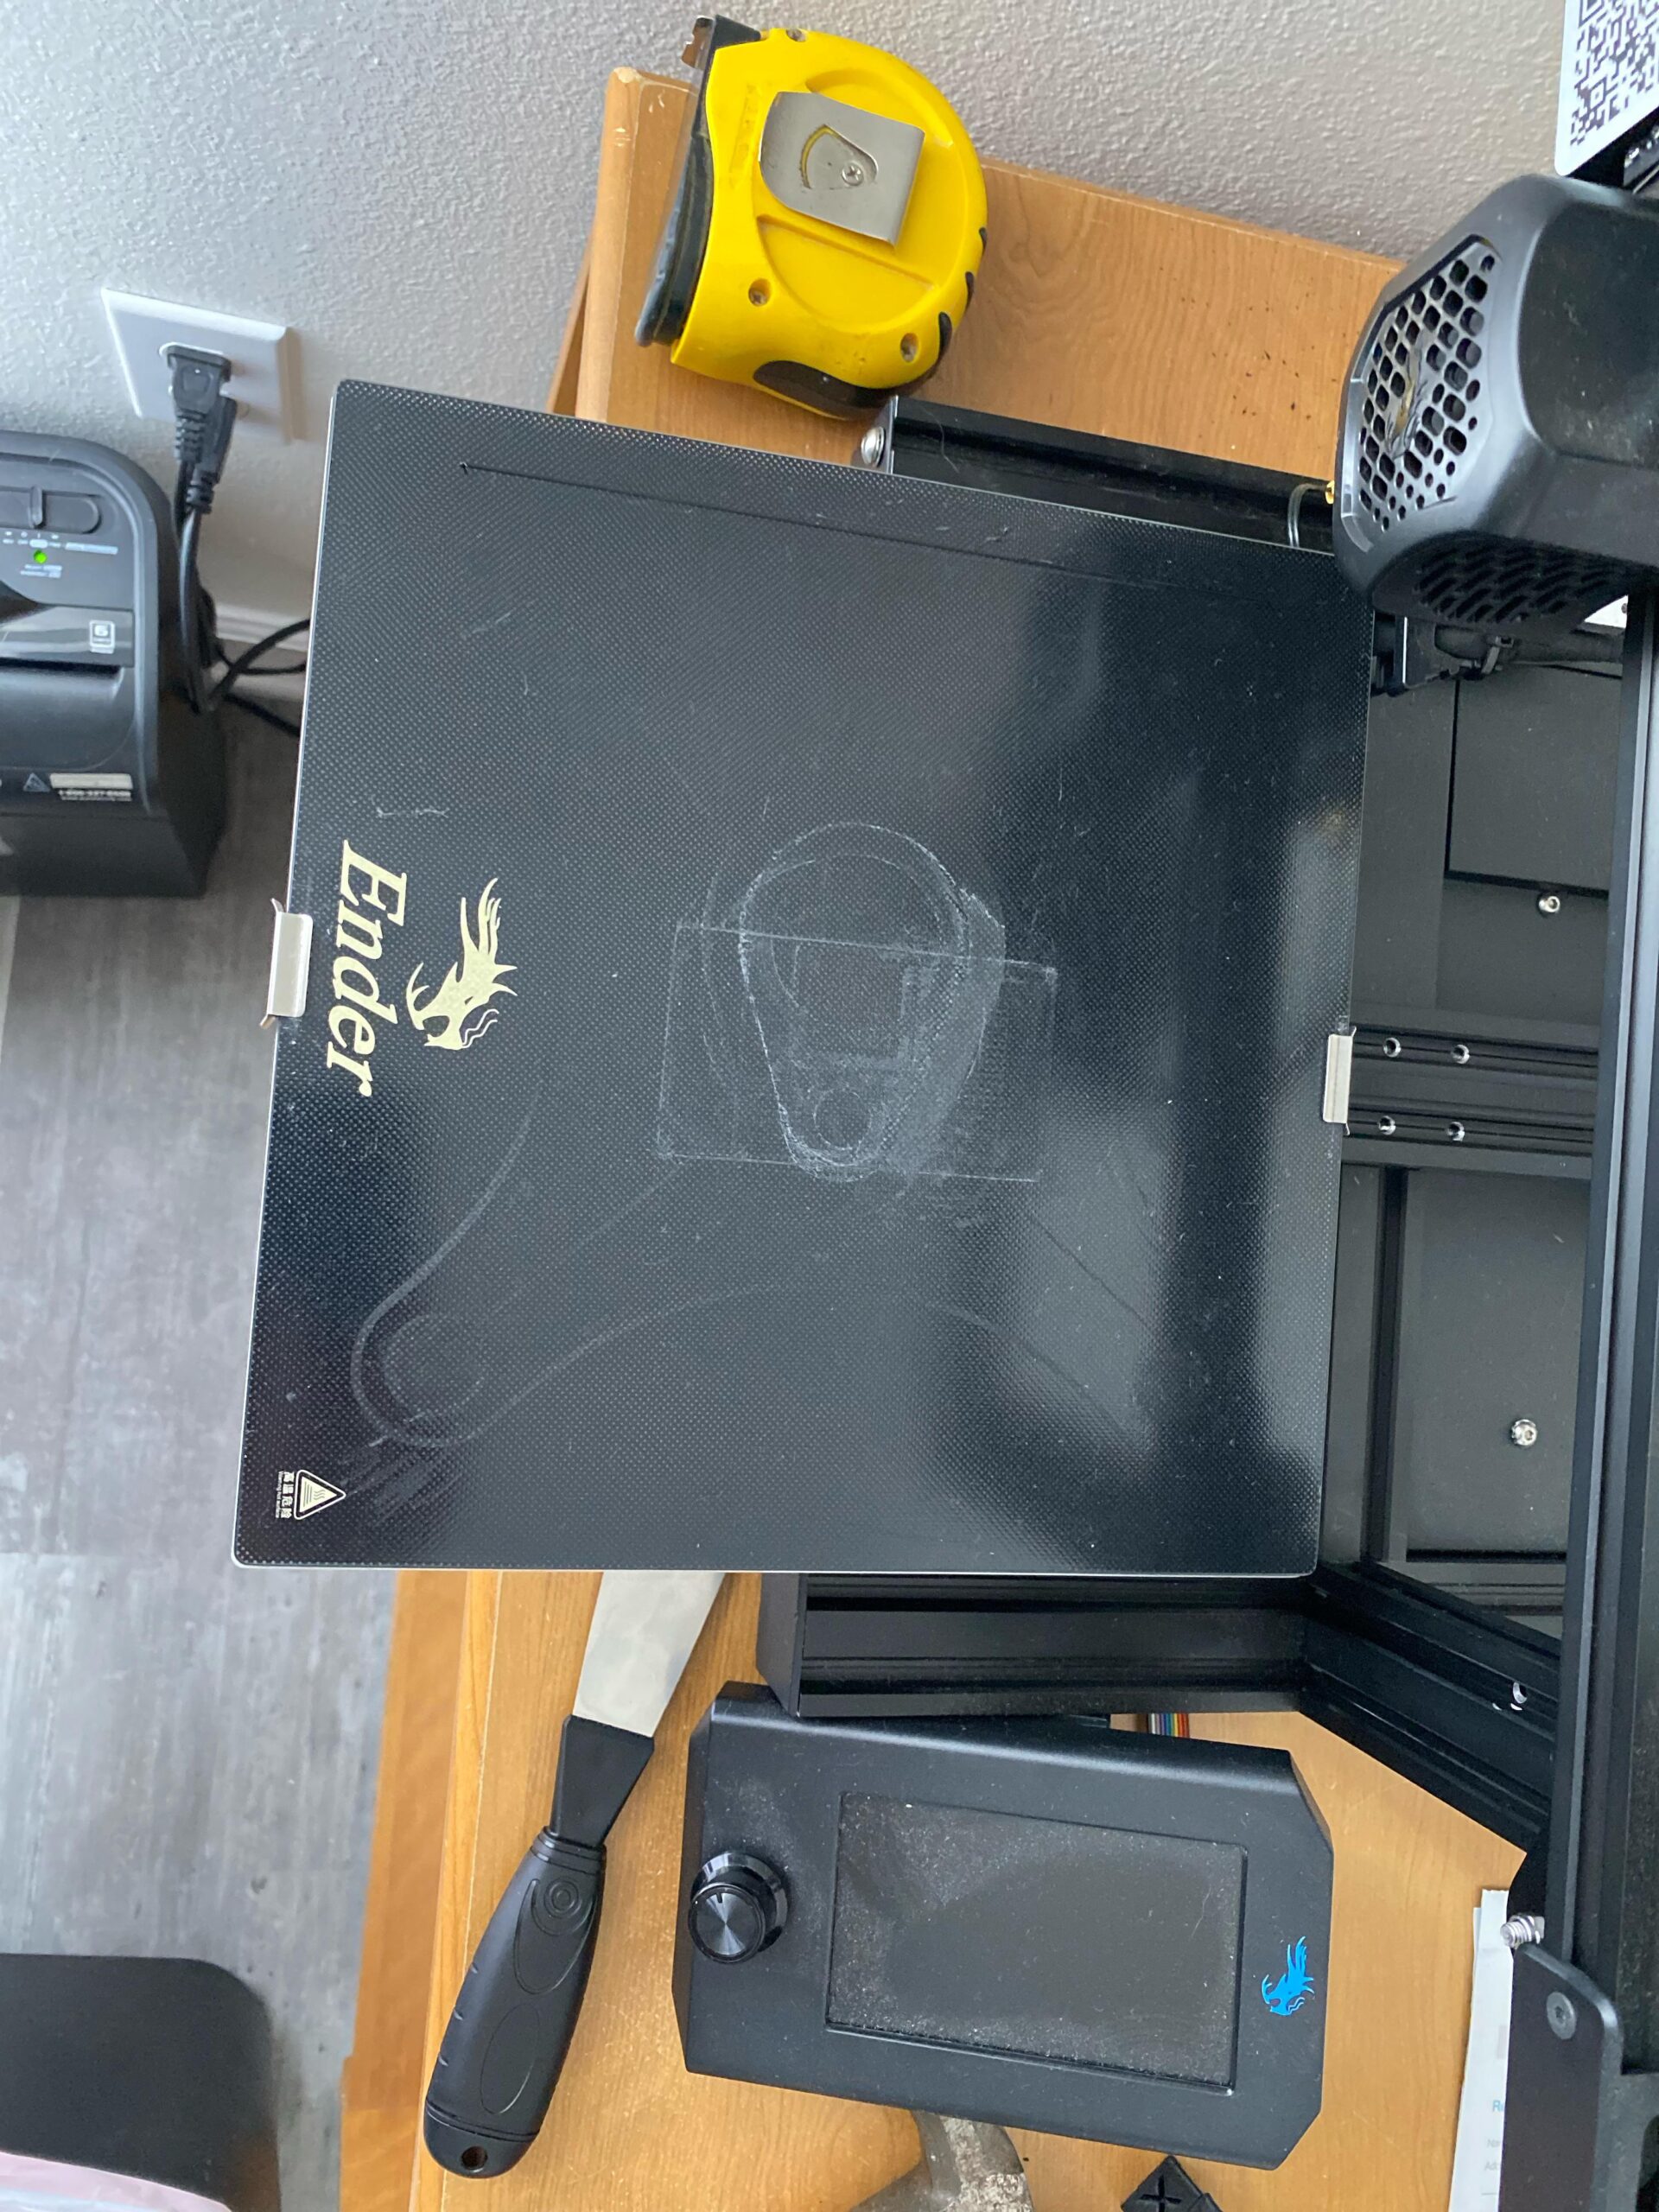

Cleaning a 3D printer bed is essential for smooth printing. A dirty bed can lead to failed prints and poor quality.
Maintaining your 3D printer bed is simple and keeps your prints top-notch. A clean bed ensures better adhesion and reduces printing errors. Dust, leftover filament, and oils can affect print quality. Regular cleaning extends the life of your printer bed and improves performance.
Learn easy steps and methods to clean your 3D printer bed effectively. This guide will help you understand the importance of a clean bed and how to achieve it. With proper care, you can enjoy flawless prints every time. Dive in to discover tips and tricks for maintaining a spotless 3D printer bed.
Preparation
Clean the 3D printer bed by removing any residual filament. Use a scraper gently to avoid damage. Wipe with isopropyl alcohol for a spotless finish.
Cleaning your 3D printer bed is essential for maintaining high-quality prints and ensuring your printer’s longevity. Before diving into the cleaning process, preparation is crucial. It sets the stage for an effective and safe cleaning experience. Let’s take a closer look at what you need to do to prepare.Gather Supplies
First, gather all the necessary supplies. Having everything within arm’s reach will save you time and frustration. You will need: – Isopropyl alcohol (70% or higher) – A microfiber cloth – A scraper or spatula – Gloves – A soft brush These items are easily available and affordable. Keeping them handy will make your cleaning process smooth and efficient.Safety Measures
Safety should always be your top priority. Before you start, make sure your 3D printer is turned off and unplugged. This prevents any electrical accidents. Wear gloves to protect your skin from harsh chemicals like isopropyl alcohol. Ensure your workspace is well-ventilated, as fumes from cleaning agents can be harmful. Now, take a moment to think: Have you ever rushed through a task and regretted it later? Don’t let that happen here. Taking these safety measures seriously can save you from potential hazards. By preparing properly, you set yourself up for a successful cleaning session. What’s the most challenging part of preparing for you? Share your thoughts in the comments below!Removing Residue
Cleaning a 3D printer bed involves removing residue from previous prints. Use a scraper to gently lift stuck pieces, then clean with isopropyl alcohol for a smooth surface. Regular maintenance ensures better print quality and prevents future issues.
Removing residue from your 3D printer bed is crucial for maintaining print quality and ensuring the longevity of your machine. Over time, filament residue can build up, creating an uneven surface that impacts the adhesion of new prints. Here’s how you can effectively clean your 3D printer bed by following a few simple steps.Cooling Down
Before you start cleaning, make sure your 3D printer bed has completely cooled down. Working on a hot bed can be risky and might cause burns or damage to the bed surface. To cool it down, simply turn off the printer and wait for about 10-15 minutes. If you’re in a hurry, you can use a fan to speed up the cooling process.Scraping Off
Once the bed is cool, the next step is to scrape off any remaining residue. A plastic scraper is ideal for this job. Hold the scraper at a low angle and gently push it under the residue. Be careful not to scratch the bed surface. If the residue is stubborn, you can use a bit of isopropyl alcohol to loosen it. Apply the alcohol and let it sit for a minute before scraping again. Have you ever noticed how tiny specks of filament can ruin a print? Removing all residue ensures your next project adheres properly. Cleaning your 3D printer bed doesn’t have to be a chore. With these simple steps, you can keep your printer in top shape and produce high-quality prints every time. Have you cleaned your 3D printer bed recently? If not, now might be a good time to give it a go!Cleaning Methods
Cleaning your 3D printer bed is essential for optimal prints. Use isopropyl alcohol to remove residue and debris. For stubborn spots, a scraper can help.
When it comes to 3D printing, maintaining a clean printer bed is essential for successful prints. There are several effective methods to ensure your printer bed is spotless. Here’s a look at two popular cleaning methods: using isopropyl alcohol and using acetone.Using Isopropyl Alcohol
Isopropyl alcohol is a go-to for many 3D printing enthusiasts. It’s easy to use and readily available. Start by applying a small amount of isopropyl alcohol to a clean cloth. Gently wipe the entire surface of the printer bed. This removes any oils and residues from previous prints. You’ll notice the bed looks cleaner and feels smoother to the touch. For particularly stubborn spots, let the alcohol sit for a few minutes before wiping it away. This method is effective and quick, making it perfect for regular maintenance.Using Acetone
Acetone is another powerful cleaning agent. It’s especially useful for removing PLA and ABS residues. However, it’s essential to use it with care. Apply a small amount of acetone to a clean cloth. Wipe the printer bed gently. Acetone can be harsh, so avoid soaking the surface. Acetone evaporates quickly, leaving the bed dry and ready for the next print. This method works well for deep cleaning sessions. Have you tried these methods before? What’s your favorite way to keep your 3D printer bed clean?Deep Cleaning
Deep cleaning your 3D printer bed is essential for optimal performance. Regular cleaning removes surface dirt, but deep cleaning tackles ingrained grime and residues. This ensures better print adhesion and overall quality. Let’s explore two effective deep cleaning methods: the soaking method and the brush method.
Soaking Method
The soaking method is great for stubborn residues. Remove the printer bed from the machine. Prepare a solution of warm water and mild dish soap. Submerge the bed in the solution for 30 minutes. This will loosen the grime and dirt.
After soaking, use a soft cloth to wipe away any remaining residue. Rinse the bed with clean water. Dry it thoroughly with a lint-free cloth before reattaching it to the printer.
Brush Method
The brush method is perfect for removing hardened filaments and debris. Use a soft-bristled brush or toothbrush. Gently scrub the bed surface in circular motions. Focus on areas with visible residue.
For tough spots, dip the brush in isopropyl alcohol. This helps dissolve stubborn residues. Once clean, wipe the bed with a damp cloth. Dry completely before using the printer again.
Drying The Bed
After thoroughly cleaning your 3D printer bed, ensuring it is completely dry is crucial. A dry bed ensures better adhesion for your prints. This step also helps in maintaining the overall health of your 3D printer. Let’s explore two effective methods for drying your 3D printer bed.
Air Drying
One of the simplest methods is air drying. Once the bed is cleaned, leave it in a well-ventilated area. Ensure the area is dust-free to avoid contamination. Depending on the environment, it might take a few hours to dry completely. Patience is key.
Using Cloth
Another effective method is using a clean, lint-free cloth. Gently wipe the surface of the bed to remove any remaining moisture. Make sure to use a cloth that won’t leave any fibers behind. Microfiber cloths work best for this purpose. This method is quicker than air drying and equally effective.

Credit: www.youtube.com
Reassembling
Reassemble the 3D printer parts after cleaning the bed. Ensure each component is securely fastened. Double-check connections for proper alignment.
### Reassembling Reassembling your 3D printer bed after a thorough cleaning is crucial for ensuring smooth operation and high-quality prints. It’s not just about putting everything back together; it’s about doing it right to avoid any potential issues later. Let’s dive into the details. ###Reattaching Components
Start by reattaching the components you removed earlier. Make sure each part is securely fitted. Loose components can lead to poor print quality or even damage your printer. Double-check the screws and bolts. Use a screwdriver to ensure they are tight but not overly so. Over-tightening can strip the screws or damage the components. Reconnect any cables you disconnected. Ensure they are plugged in correctly and firmly. Misconnected cables can cause electrical issues or malfunctioning parts. ###Calibration
Once reassembled, it’s time to calibrate your printer. Calibration ensures that the bed is level and at the correct height from the nozzle. This step is crucial for achieving precise prints. Start by manually adjusting the bed level. Most 3D printers have screws or knobs underneath the bed for this purpose. Turn them to raise or lower the bed until it’s level. Use a piece of paper to check the nozzle height. Slide the paper between the nozzle and the bed, adjusting until you feel slight resistance. This ensures the nozzle is at the optimal distance for printing. Run a test print to verify the calibration. Look for issues like uneven layers or poor adhesion. If you notice any problems, go back and adjust the bed level or nozzle height again. Reassembling and calibrating your 3D printer bed might seem tedious, but it’s a step you shouldn’t skip. Proper reassembly and calibration lead to better print quality and a longer-lasting printer. Have you ever faced issues after reassembling your printer bed? Share your experiences below and let’s discuss solutions!Maintenance Tips
Proper maintenance of your 3D printer bed is crucial for consistent prints. Keeping the bed clean prevents issues and ensures smooth operation. Follow these tips to maintain your printer bed effectively.
Regular Cleaning Schedule
Establish a regular cleaning schedule for your printer bed. Clean the bed after every print session. This helps remove residue and keeps the surface ready for the next print.
Use a lint-free cloth and isopropyl alcohol. Wipe the bed gently to avoid scratches. Make sure the bed is dry before starting a new print.
Avoiding Common Mistakes
Avoid using abrasive materials for cleaning. They can damage the bed surface. Also, don’t overuse cleaning solutions. Excessive liquid can seep into the printer mechanism.
Be cautious with heat. Don’t clean the bed when it’s hot. Wait for it to cool down to prevent burns and damage.

Credit: www.reddit.com
Troubleshooting
Even with regular cleaning, your 3D printer bed might still run into issues. These problems can be frustrating, especially when they disrupt a print job. Let’s dive into some common troubleshooting tips to keep your prints smooth and successful.
Persistent Residue
Sometimes, despite cleaning, residue just won’t budge. This can be a real headache. One trick is to use isopropyl alcohol. It’s great for breaking down stubborn materials.
If that doesn’t work, consider using a plastic scraper. Gently scrape the bed to avoid damage. Remember, a clean bed is key to a perfect first layer.
Have you tried a magic eraser? It can sometimes do wonders for those pesky spots. Just be gentle to avoid scratching the surface.
Bed Adhesion Issues
Struggling with prints not sticking to the bed? This is a common issue. First, check the bed temperature. It might need an adjustment.
Another solution is to re-level the bed. Over time, it can become uneven. A quick recalibration can make a huge difference.
Consider using an adhesive like glue stick or hairspray. They can help prints stick better. Just apply a thin layer and give it a try.
Remember, each printer is unique. What works for one might not work for another. Keep experimenting until you find the perfect solution for your setup.
What’s your go-to trick for cleaning your 3D printer bed? Share your tips in the comments below!

Credit: www.youtube.com
Frequently Asked Questions
How Do You Get 3d Print Residue Off A Bed?
Use a scraper to remove the residue. Heat the bed slightly for easier removal. Clean with isopropyl alcohol.
How Do You Clean The Base Of A 3d Printer?
To clean the base of a 3D printer, turn off and unplug the printer. Use a soft brush or cloth to remove debris. Apply isopropyl alcohol on a lint-free cloth to wipe the surface gently. Avoid using abrasive materials to prevent damage.
How Do You Clean A Textured Print Bed?
Clean a textured print bed with isopropyl alcohol and a lint-free cloth. Gently scrub to remove residue.
How To Get Glue Off A 3d Printer Bed?
Use isopropyl alcohol and a scraper to remove glue. Gently rub the bed with a cloth until clean. Avoid harsh chemicals.
Conclusion
Keeping your 3D printer bed clean is essential. It enhances print quality. Regular maintenance prevents print failures. Use simple tools like alcohol wipes. Always remove prints carefully. This avoids damage. A clean bed ensures better adhesion. Follow these easy steps.
Enjoy smoother printing experiences. Your 3D prints will thank you. Happy printing!